How Do You Select the Right Connector Model and Specifications?
1207Explore YORO’s guide on selecting connectors with optimal specifications and models for enhanced photovoltaic efficiency and reliability in diverse conditions
View detailsSearch the whole station
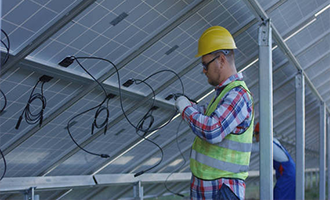
How To Install And Use Solar Cables?
Solar cables necessitate precise connectors to establish accurate connections. The solar connector, especially the 4mm variant, is predominantly utilized, featuring prominently in modern solar panels. It offers optimal protection against water and dust, ensuring the longevity of the cable. These connectors are economically viable and compatible with 4mm and 6mm solar cables. Purchasing new solar panels typically includes pre-attached solar connectors, eliminating the need for separate acquisitions.
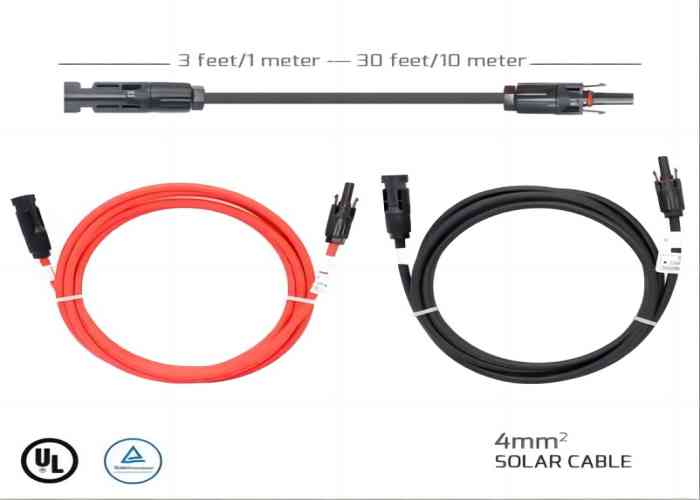
The primary challenge in most solar systems is transmitting electricity from roof-mounted panels to different house locations. A prevalent solution is acquiring pre-cut leads within the diameter range, typically spanning 10-30 feet. However, a more efficient approach involves purchasing cables of the requisite length and integrating them using solar connectors.
Solar connector cables encompass both male and female connectors. Essential tools for installation include 4mm solar cables, male/female solar connectors, wire strippers, and wire crimpers. The installation process is straightforward, requiring approximately 5-10 minutes.
Installation Steps:
Prepare the Connector:
The connector is pivotal as it links the cable to the solar panel. Initially, mark the metal to denote the desired depth of the connector within the existing one; exceeding this mark may hinder the connection of all solar connectors.
Crimp the Male Connector:
A crimping tool is essential. The Solar Connector 4mm Crimp Connector is recommended for its robust connection and ability to consolidate cables during crimping. Crimping tools are generally affordable, starting at around $40.
Firstly, slide the nut through the metal crimp, ensuring a check clip is within the plastic housing. Failing to place the nut on the cable initially prevents the removal of the plastic casing.
Insert a 4mm Cable:
Once the 4mm solar cable is correctly crimped, a “click” should be audible upon insertion into the connector, indicating secure attachment. The cable needs to be locked within the plastic casing at this point.
Secure the Rubber Gasket:
Ensure the sealing gasket, typically rubber, aligns with the cable end. This alignment guarantees a solid grip for the 4mm solar cable once the nut is integrated into the plastic housing. Tighten it securely to avoid any connector movement that could compromise the connection.
Crimp the Female Connector:
Slightly bend the cable over it to enhance surface contact within the crimp. Strip a minimal amount of cable insulation to expose the wires for crimping. The crimping of the female connector follows the same procedure as the male connector.
At this juncture, plugging in the cable is the sole task. Initially, thread the nut through the cable, ensuring the rubber washer is correctly positioned. Subsequently, insert the crimped cable into the female housing. A “click” sound should be audible, confirming the secure locking of the cable.
The concluding step involves validating the connection. It is advisable to meticulously test the solar connectors prior to their integration with the primary solar panel or charge controller, ensuring seamless functionality. A successful connection test signifies a reliable and enduring connection.


Explore YORO’s guide on selecting connectors with optimal specifications and models for enhanced photovoltaic efficiency and reliability in diverse conditions
View details
Explore how to select the optimal junction box for solar modules, focusing on connection, protection, weather resistance, and more, with YORO
View details
Explore the vital aspects of solar junction boxes, including their electrical performance, working voltage, junction temperature current, and connection methods.
View details
Dive deep into the efficiency and reliability of YORO NEW ENERGY Solar Connectors. Discover the comprehensive testing processes, including Plug Force, Durability, and Insulation Resistance Tests, that ensure maximum energy transmission with minima...
View details